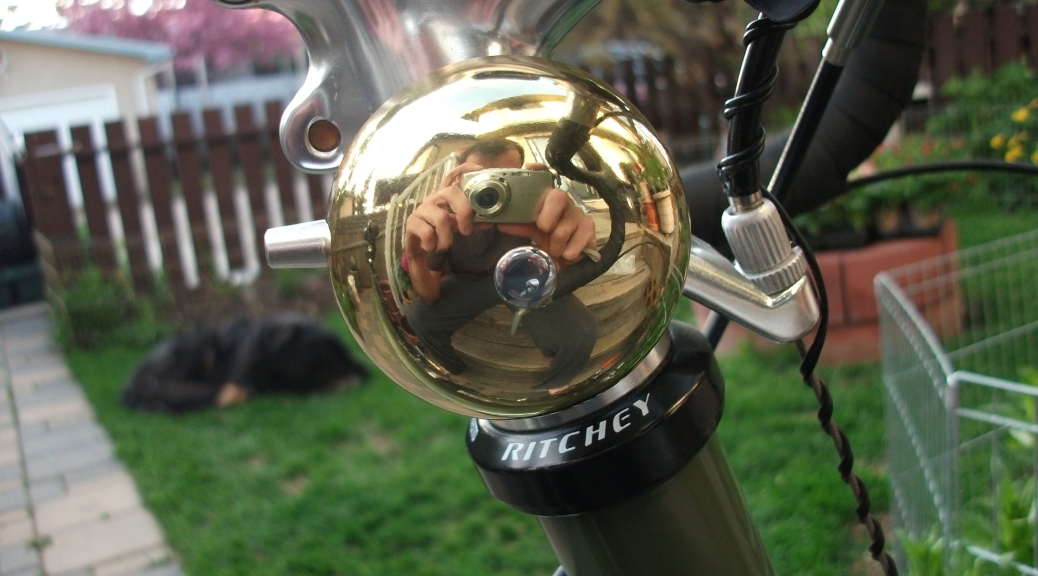
My Surly Long Haul Trucker has fairly thick handle bars and I never had much luck finding a bell that would fit. Lacking a bell turns out to be a huge problem on Calgary pathways, which are regularly populated by slow and often oblivious pedestrians. For a while now I have relied on verbal warnings, though these often frighten and confuse people more than anything. The typical verbal warning is “on your left”, which has the unfortunate effect of causing some people to actually move left into your path. After enough incidents like this I decided to do some research and find a bell that would work with my LHT. I ended up finally settling on a beautiful brass bell from Velo Orange. Velo Orange also makes the special spacer / stem mount that I used to attach it to my bike.

.
.
All of the components can be seen on the right, including some of the extra hardware that came with the spacer mount.
.
.
.

.
.
The stem of my bike, where the bell will be mounted can be seen on the left. I decided to replace the 2nd spacer from the top with the special spacer mount because this kept the bell clear of any other components on my bike.
.
.
.

.
After detaching the handlebars, the spacer mount replaces the second spacer from the top. The diameter of the steering tube on my bike is 1 1/8″ and so that was the size of spacer I purchased. Your bike may have a 1″ diameter tube, and so I strongly recommend measuring this value before making a purchase.
.
.
.

Before tightening the handle bars back on, it is necessary to make sure everything is aligned correctly. The easiest way to do this is to press a straight edge up against the arms of the fork and then align the handlebars to be parallel to this. This may require an extra set of hands, and I strongly recommend finding someone to help if possible. It is also necessary to apply some downward force on the point where the stem of the handlebars attaches to the steering tube of the fork when tightening everything back up. This prevents the spacers from rotating freely, and keeps the bell at the angle you installed it.
.

Attaching the bell to the spacer mount isn’t too difficult, and the diagram to the right shows all of the components necessary as well as the order they go on. The easiest way to do this is to place all the washers and other pieces onto the screw so that they are roughly centred on it. You then screw the bell partially onto the appropriate end and insert the other end into the hole on the spacer. Twisting the bell to tighten it further will now simultaneously tighten both ends, and firmly attach the bell to the bike. Use good judgement when tightening; you do not want to strip the screw or damage any components.
.
.
.
At this point you are done, and the bell is good to go. Below are a few pictures of the bell on my LHT, taken from different angles to give a good sense of how it looks and fits onto the bike.
I have also used my phone to shoot a short video of the bell in action. The video quality is poor, though the audio is decent enough to get an idea of what the bell sounds like:


